After playing around for a bit with some smart home devices, most of them bought by rather large companies, and playing around with some ESPHome devices from some smaller manufacturers. It’s time to drop the guard rails and get started for real. I’m going to build my own devices using off the shelf parts. Let’s see how this goes.
This post is part one of a series on ESPHome. This series is documenting my adventures with ESPHome from start to finish, from easy to more advanced. Please find the introduction post here and the entire series here.
The idea
I have all kind of smart home sensors installed in my home now. Most of them are built by Sonoff (the SNZB-02P and SNZB-02D to be precise), some are built by Ikea. They measure the temperature and report it to my home assistant dashboard. It gives me some nice graphs to look at there, so overall I’m delighted with it. (Yes it is kind of hot for Switzerland as of writing this, but then again it’s like the second nice day of the summer, so I’m not complaining at all.)
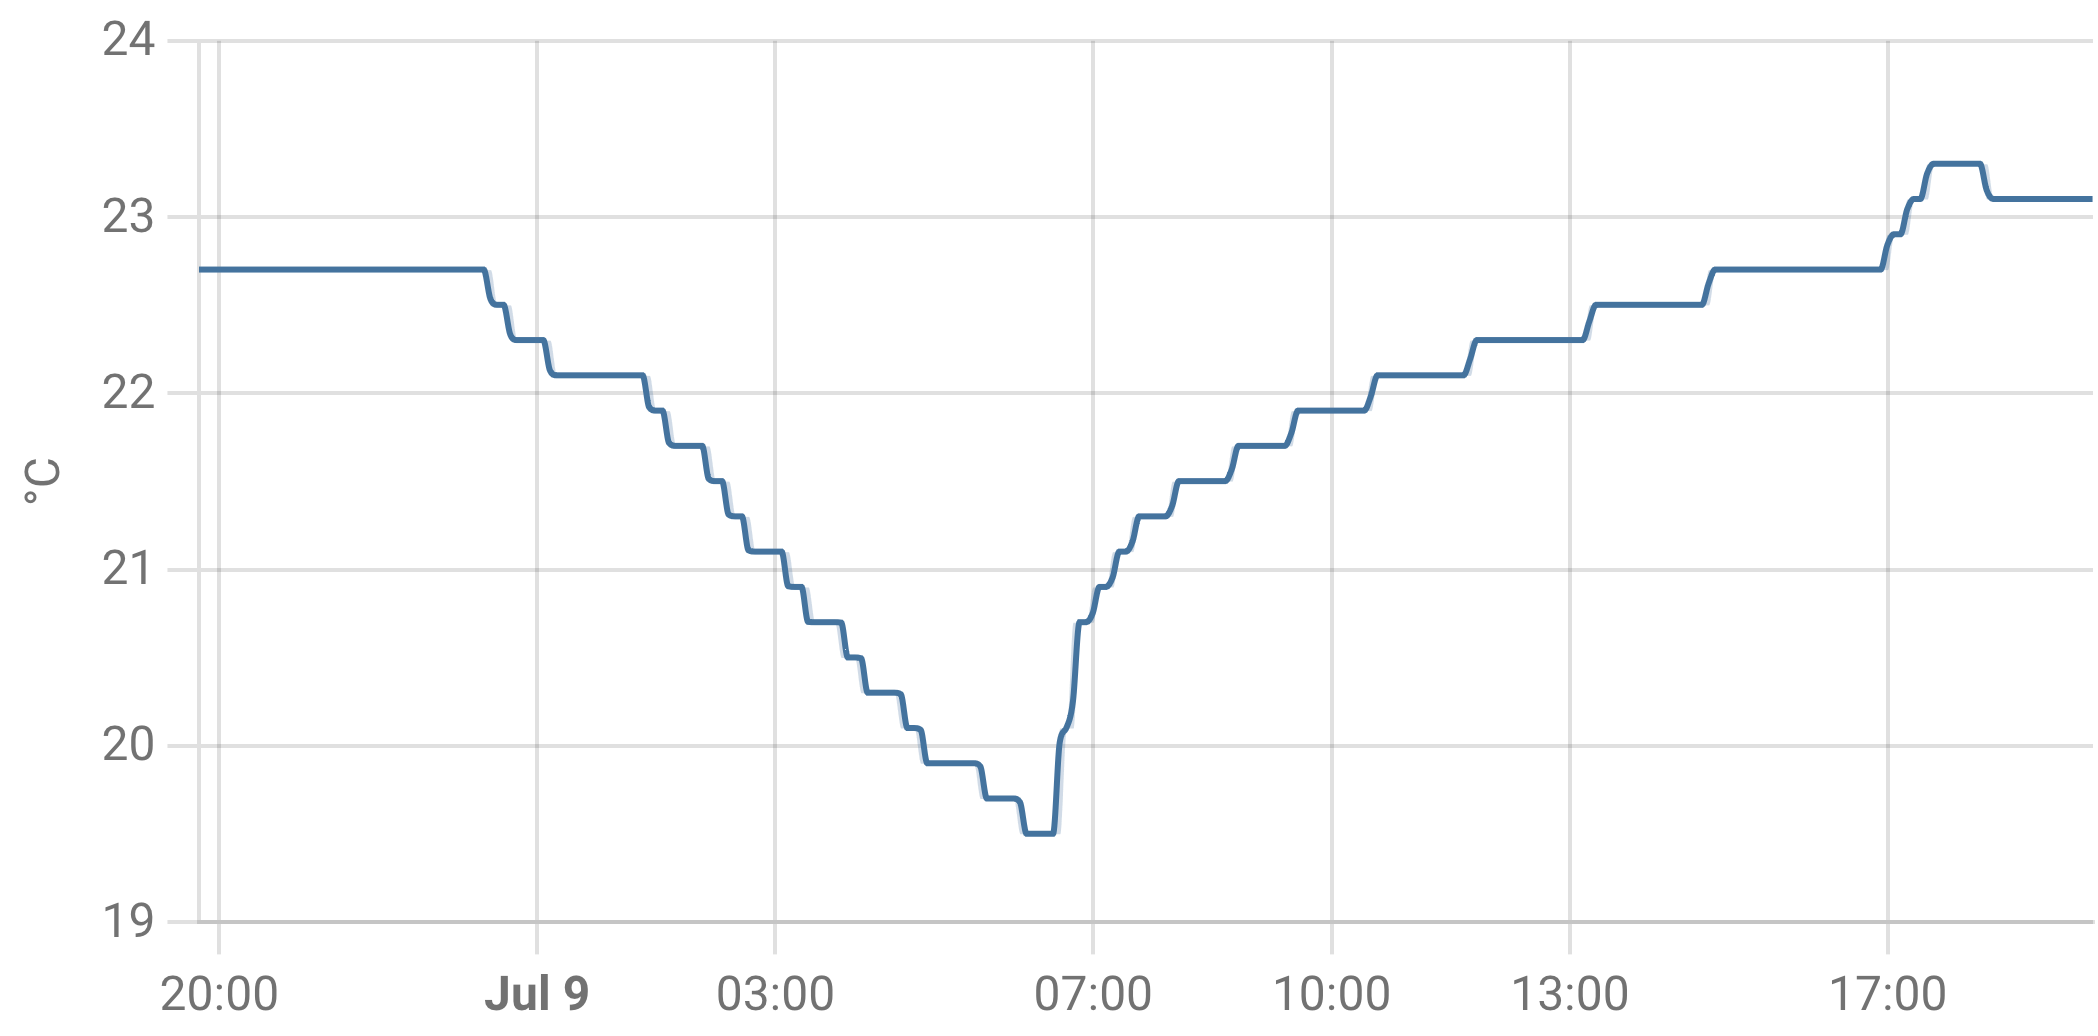
The temperature is enjoyable to know, and the humidity is potentially even more useful, as it might help to prevent mould indoors (although in my uninformed opinion, this is more of a winter’s problem). It is also fascinating to see the graphs, for example in the room where we have the washing machine and dryer, as there it is producing quite some interesting graphs1. But this only measures the temperature and humidity, but not much else.
Admittedly, Ikea’s Vindstyrka device also measures the PM2.5 values of the air and has a very nice display, but it doesn’t measure any form of CO2.
CO2 is quite interesting
CO2 is supposed to be a good indicator when it is time to add some fresh air to a room. These devices were used during the Covid-19 pandemic to improve ventilation. We also use them at the office to measure air quality and as a great indicator of when to open up and window and let some fresh air in2.
I used to have a Netatmo weather station as well, it also had some kind of CO2 indicator and apparently a CO2 sensor. The problem here is, that it is not very accurate. It also relies on the cloud and requires Wi-Fi connection with said cloud. Basically, it didn’t fit in my local-only, Zigbee-first setup, so I never really set it up.
But still, a CO2 sensor intrigued me, so I started to look for one. And when I didn’t find anything of the shelf, I decided to build one myself.
Here’s the Bill of Materials
First, I needed a sensor. I decided to go with one from the swiss company Sensirion, as apparently they make excellent sensors. After some research, I decided to go with the SCD41, since it is a bit newer than the SCD30, but also a bit more precise than the SCD40. Though in reality, probably all of these sensors would have worked absolutely fine, but this is the compromise I came up with. Though I’m pretty sure I will build another sensor at some point, and for this, I’m most likely going to go for the SCD30, since this is apparently the gold standard (at least in this price range). Luckily for me, Adafruit have prepared the sensor on a board with a standard plug, which makes my life so much easier3.
I also needed an ESP32 chip. As I found out pretty quickly through some expert internet usage, I required a development board or something. Otherwise, I would have to solder again (again on tiny areas, for me almost impossible). I decided to go for the newest one that is officially supported by Home Assistant. In my calculations, this is the ESP-C3, so I ordered one development board for that version.
I did also look at the ESP-H2, but that doesn’t appear to have Wi-Fi support, and ESPHome currently only supports Wi-Fi for wireless communication. The newest board by Expressive, the ESP-C6 supports many more standards, such as Zigbee, Thread and modern Wi-Fi, but is not officially supported by ESPHome (yet?). I still decided to get another development board from that version, just for some future upgradeability. Any maybe to play around making my own Zigbee device, that would be cool.
The order process so far
I ordered all my pieces from Mouser Electronics, having had some good experiences with them in the past. And since the Sensirion sensor is costly, free shipping covers the order. I added all my items to the card and press buy. It worked well, and I received an email confirmation pretty quickly.
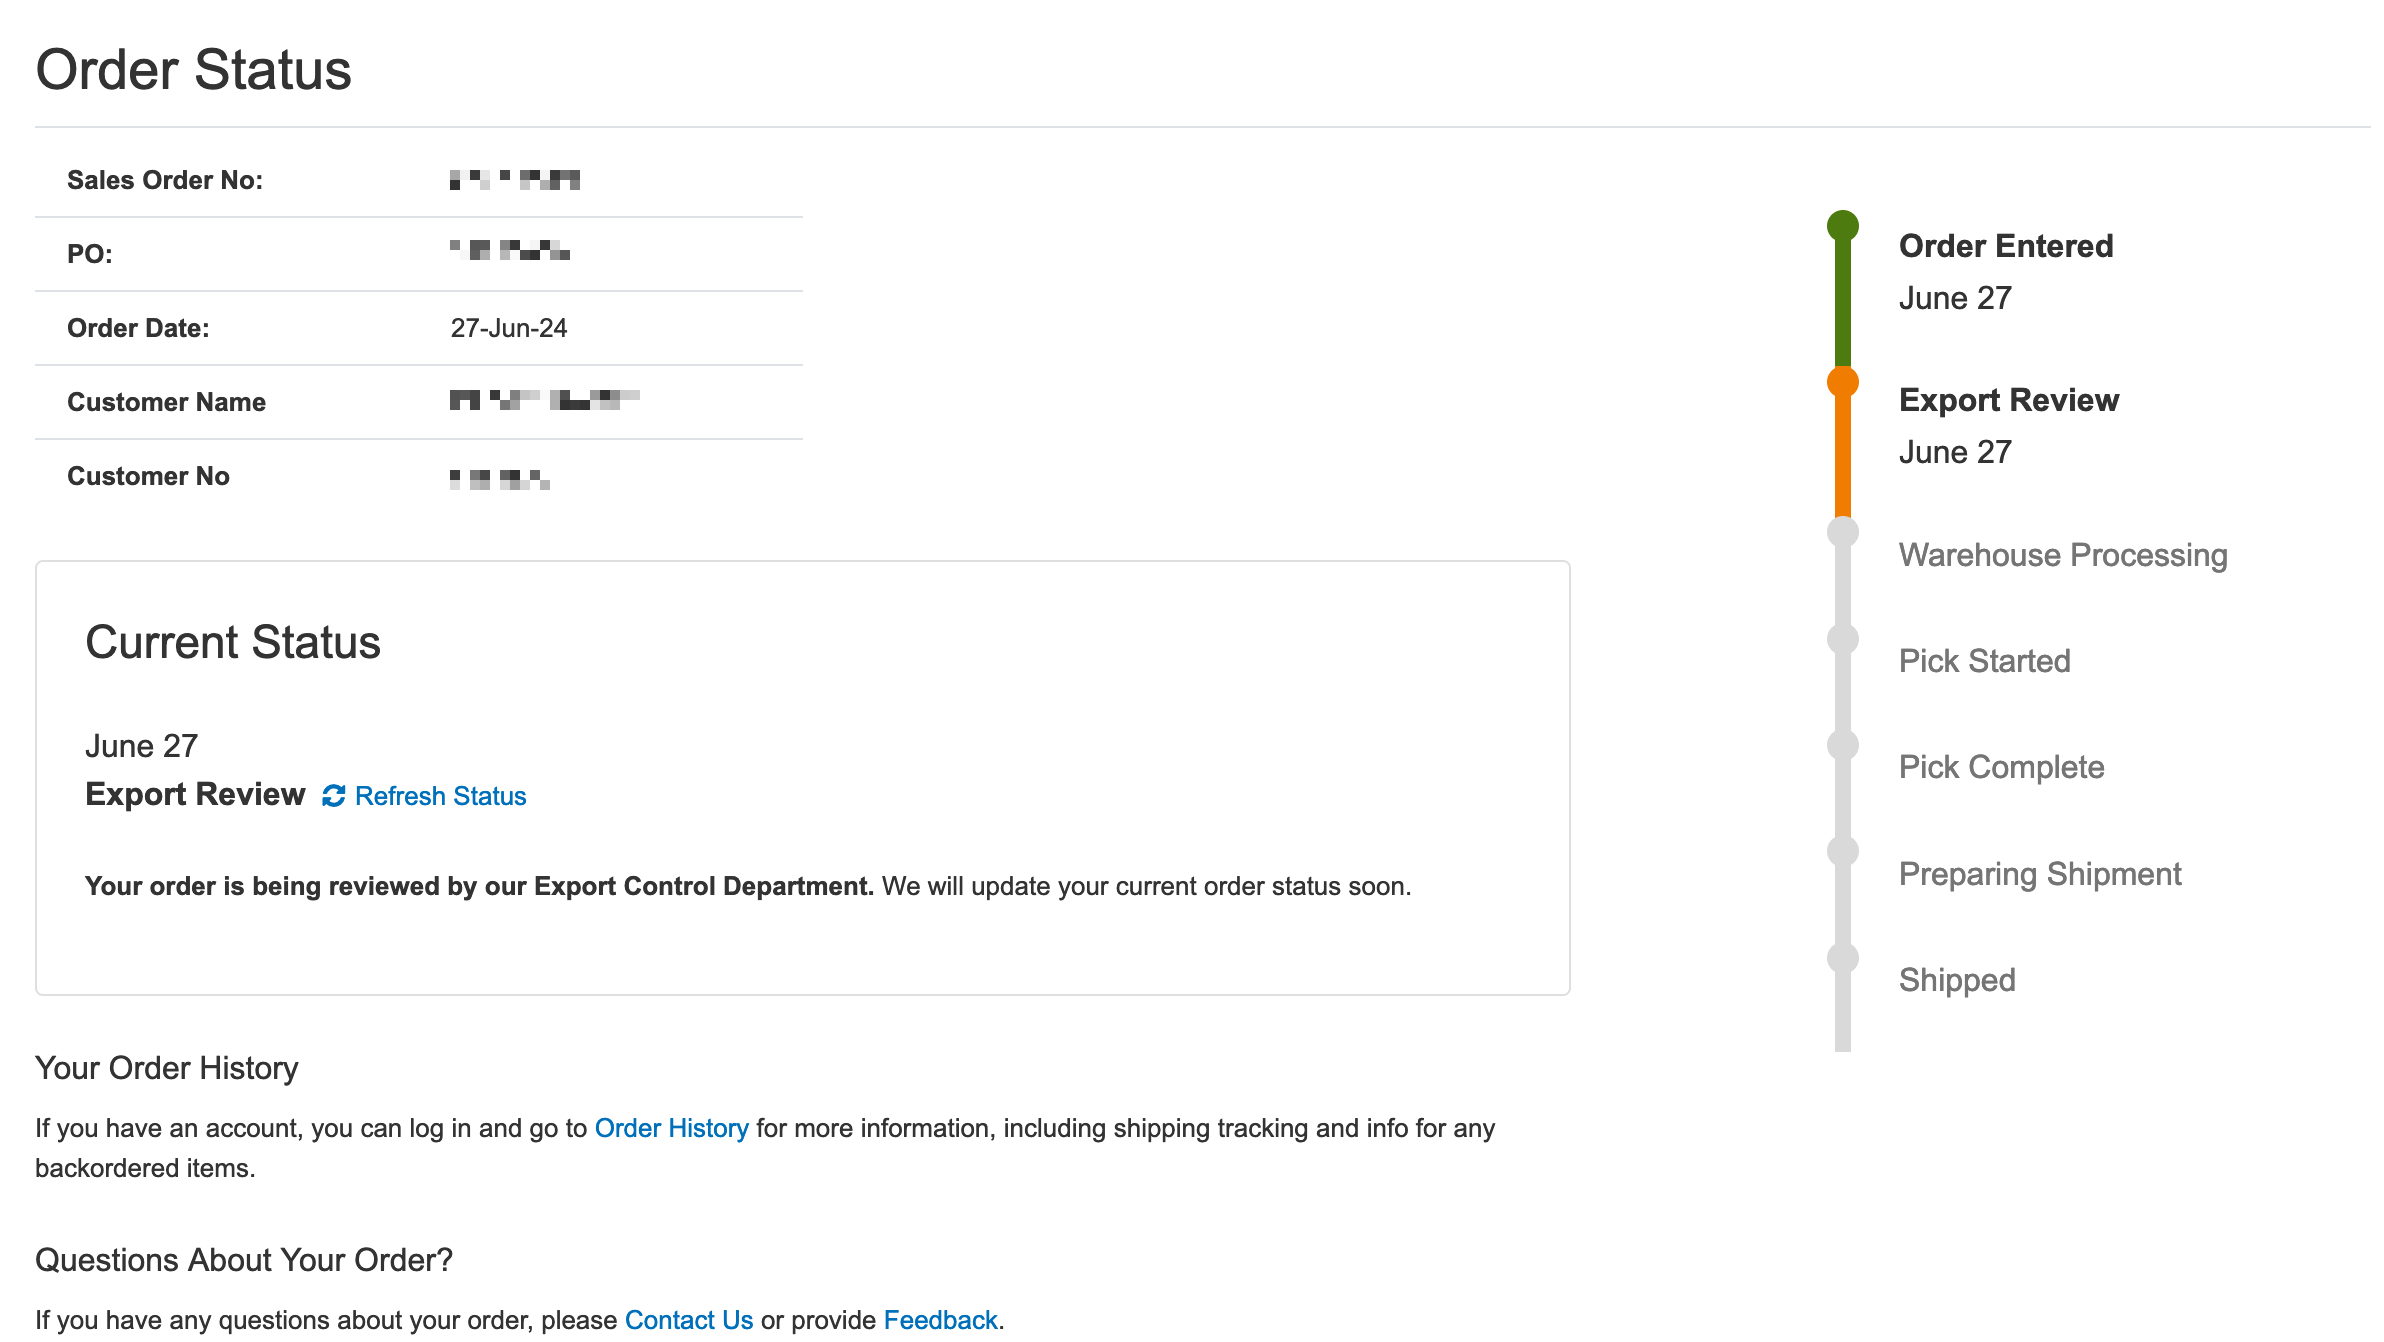
Then I received another email that I needed to confirm something about export restrictions. To be honest, it was a bit confusing, but nevertheless I filled out everything and I confirmed that I will not be using the devices in any way to circumvent American sanctions. Since I will be using the device to measure the CO2 levels at my home, I feel pretty safe that I’ll be fine, and I should receive the package with the contents at some point. For now, though, I just wait.
Interestingly enough, I only had to go through the export clearance process with the ESP-C3 version, not with the newer ESP-C6 version. I wonder if this is just slipping through the cracks, or if there is an actual difference between the devices and their sanction status. At any rate, I’m just going to experiment with some sensors, so I will be fine either way.
I for example, learned that the dryer that we have produces quite some heat and will heat the admittedly small room about 10 °C. It somehow also removes humidity from the room as well, which can drop more than 10% in relative humidity. ↩︎
I also use the monitors to have a break during meetings, especially when meetings drag on for too long. Normally, having a break and letting some fresh air in helps the meeting quality a lot. ↩︎
The sensor is so small, and my soldering skills basically non-existent, so this is perfect for me as otherwise I would have been just about out of luck. ↩︎