There is little that excites me as much as getting the message that I have received a parcel. Especially when there is some technical gadget1 in the parcel. And as I have written before, that path of this parcel was a bit more complicated than anticipated. But they arrived, I went home from work and excitedly opened up the letterbox, only to see it was empty. But no worry, one of my kind flat mates signed for the parcel2, so it was already upstairs.
This post is one of a series on ESPHome. This series is dedicated to documenting my experiences with ESPHome from beginning to end, ranging from basic to advanced. Please find the entire series here.
The hardware
By titling this section hardware, it feels like I’m already kind of stretching the meaning of that word. It’s not really hardware, it’s electronics. And it is quite surprising how small everything is (well except the connector, the cable is about the size I expected). Since it was the first time, I decided to get two evaluation boards from Espressif, so I’d be able to try out different options3. I got one with the ESP32-C3 system on a chip, as well as the more modern and up to date ESP32-C6. I knew that the ESP32-C3 would absolutely be supported by ESPHome (after all, it’s listed as a supported board on ESPHome’s website). And the ESP32-C6 had lost of interesting hardware on it, especially the thread radio which would support Matter of thread at some point, which is supposed to be the future of smart home (I’ll believe it when I see it).
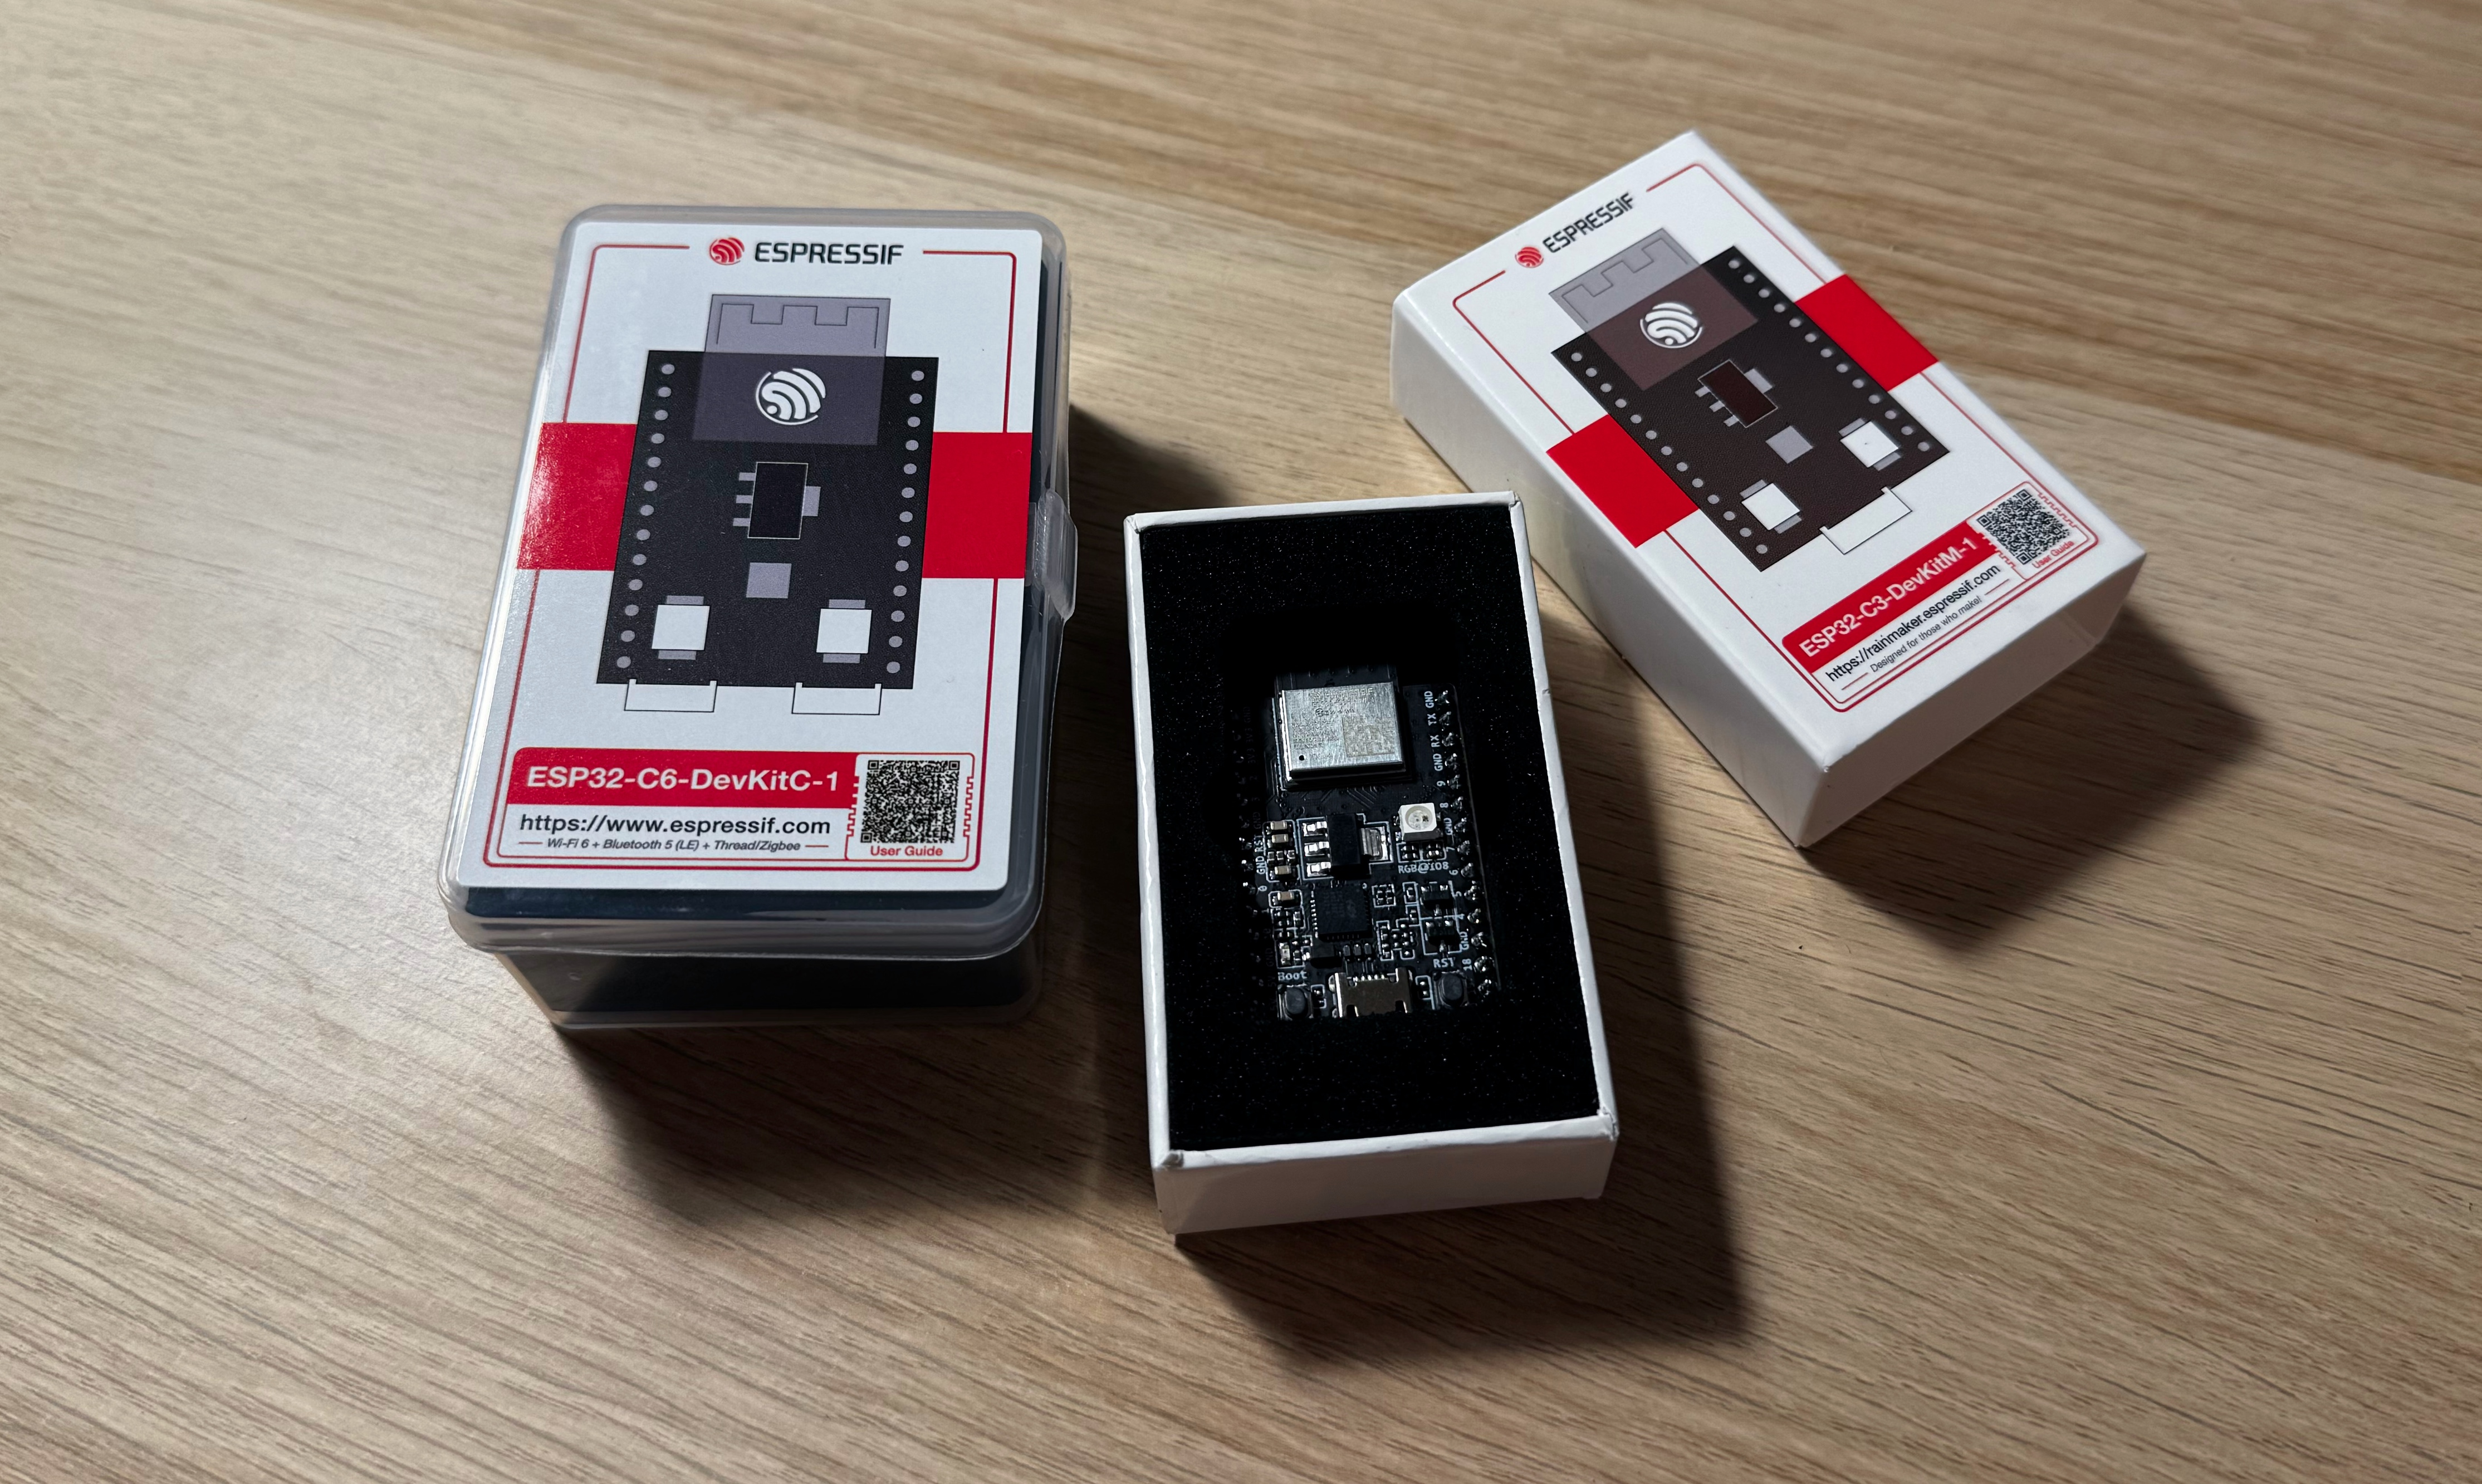
The ESP32-C6 (in box) and ESP32-C3 (unpacked) boards
The first thing that caught my eye is that they are much smaller than I thought. Even with the box, they are smaller than any Raspberry Pi I have seen (let’s wait until I get my hands on a Raspberry Pi Pico). It’s crazy how little space it needs to fit a SoC, some USB connectors as well as the GPIO pins. I’m quite excited to get started on this.
Next I checked on the cable. It uses the STEMMA QT connector on one side and can be fit on the GPIO pins on the other side. While this cable is not strictly necessary, it does save me from some soldering (more on that later) which is always good. And it’s so cheap, it was straightforward to order as well.
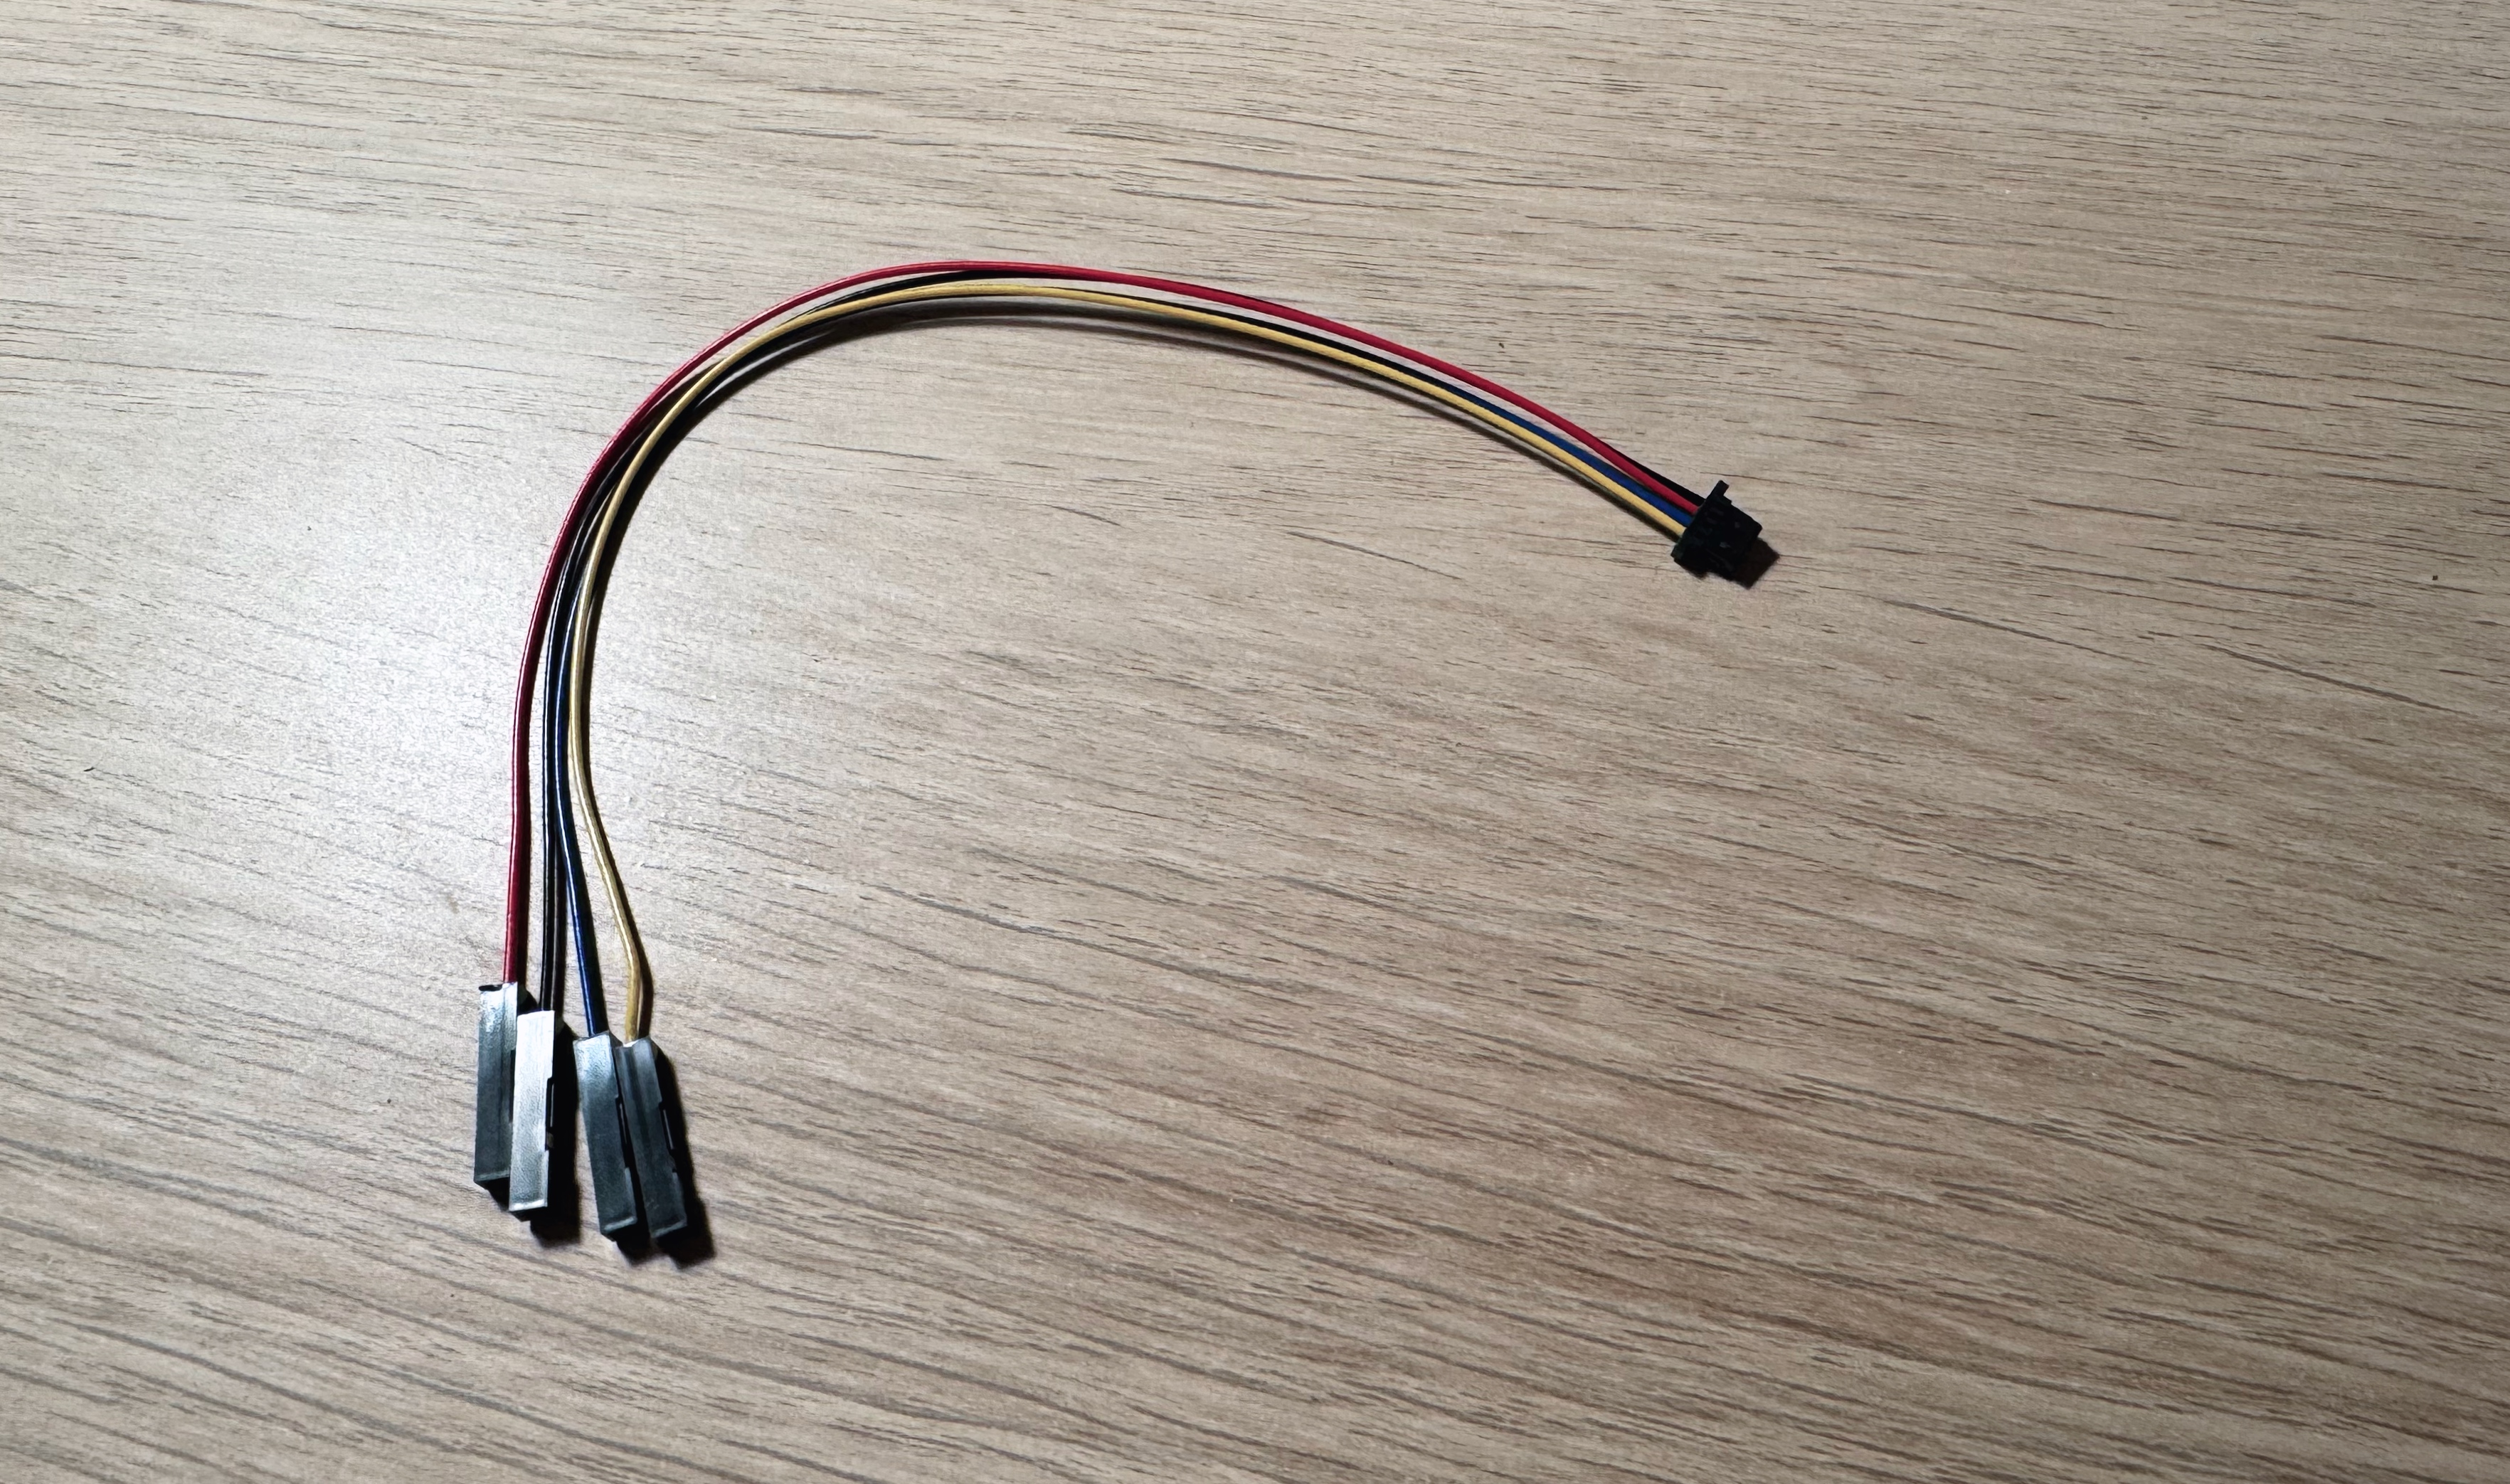
The STEMMA QT to Female sockets cable
And finally, I also received my CO2 sensor. Well, not only the sensor, but the sensor already mounted onto a small PCB, which has all the contacts needed to communicate with the sensor directly available. As such, it exposes the I2 bus directly via the four cables, saving me even further from soldering 4.
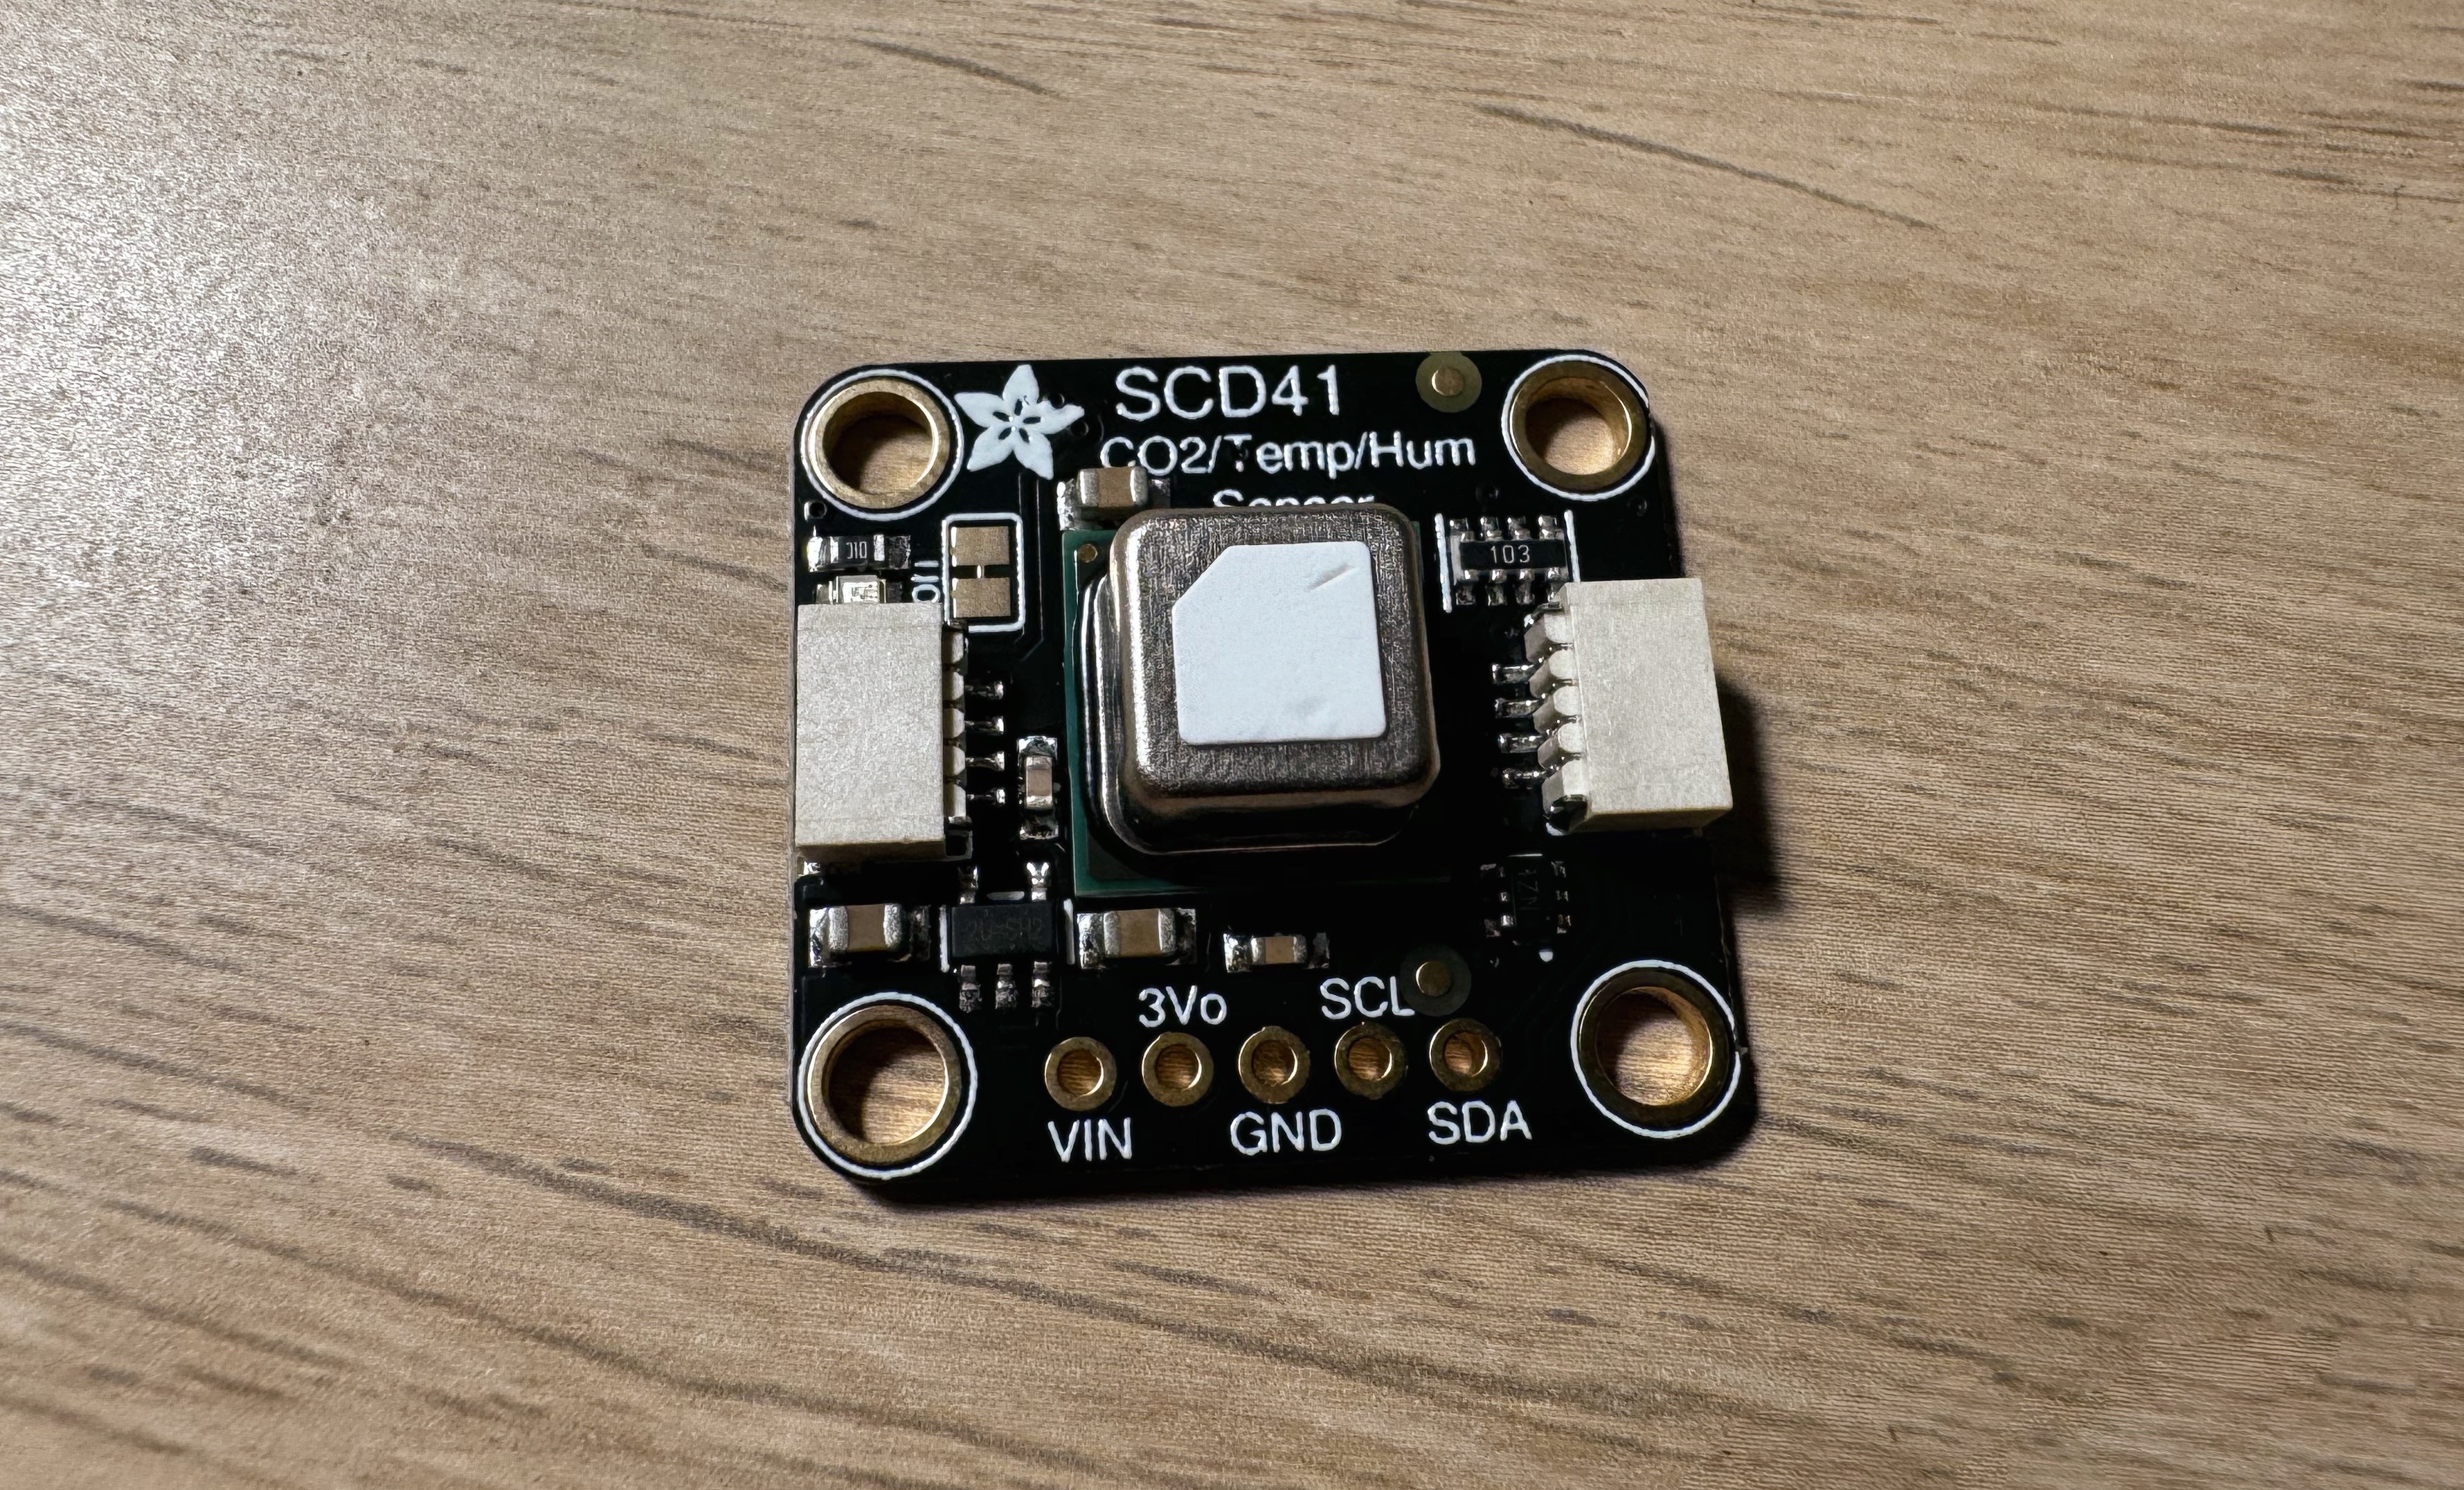
The Adafruit SCD-41 board. The board has the Sensirion SCD41 CO2 sensor mounted.
I checked out the sensor by looking at it, and to be honest, I’m not exactly sure how anything is getting measured there. I would expect some kind of holes to let air in, but I could not find any. At any rate, this is not my problem, since the sensor should just work like that, and that is it.
Getting with flashing the ESP boards
I was ready to get started. I had all the hardware I needed, and I double-checked that the SCD41 is supported in ESPHome. It was (and still is today). So I tried to start flashing the ESP32-C6 board. I already knew I needed to use a different browser, so I had that ready to go. I connected the device to my laptop via USB-C and fired up Chromium to get started. Not only that, but I pressed the necessary permissions and off we went. Until I got an error. Of course, I did.
Some quick googling showed me that the ESP23-C6 board was not yet properly supported by ESPHome. And while there were some suggestions of things to try, I didn’t quite manage. I assume this is a combination of this ESP32 board not being supported and me not being talented enough to get it up and running. Maybe I needed to use a different framework. Or perhaps use ESP-IDF in the proper version. Long story short, I couldn’t make it work. So I though, let’s try the ESP-C3, this is supported.
So I plugged in the older board into my laptop. Well, actually I tried because what I did not account for, was that the older development board would not have a USB-C connector. It had an old Micro-USB connector. I dug through all my drawers, but no success. See the challenge is the following. I need to be able to connect the cable to both my laptop and the ESP32-C3 device. Therefore, basically, I need USB-C on the one side (I don’t have any old USB ports on my Laptop, thanks Apple) and I need Micro-USB on the other side. To the best of my knowledge, no such devices exist, but I guess I require a Dongle from USB-C to full size USB and then a cable from full size USB to Micro USB. That should be doable, and in fact I have already ordered a cable and adapted, since I’m not too sure about the USB to Micro USB cable I have5.
Coda
So I have all the devices to build my first ESPHome device. I have everything I require, I can even connect them all together. I’m just missing a cable to flash the damn thing. But I’ll get around to getting one of these, and then I’ll be fully ready to go.
The term gadget might be stretching it a bit in this context. I do get very excited about cool gadgets, but in this case, it might more be electronics than gadgets, basically I am responsible for making the gadget out of the electronics. ↩︎
It’s always a bit funny to see what the arbitrary system decides if the parcel needs to be signed for. So far, I have not found any rhyme or reason to the system, but as long as the parcels arrive safely with me, that’s all I ask for. ↩︎
I have mentioned before that tinker is part of the idea for this project, so trying out was obviously right up my ally. ↩︎
In this case, the no soldering part is actually even more relevant. While I could probably solder a cable to a contact (although, no promises about that either) soldering to the sensor would be nearly impossible: The sensor is so small and there are twenty different soldering points you need to connect. Or maybe actually you only must connect six, but you have to ensure that the remaining fourteen are not connected to anything. At any rate, this would have been nearly impossible, I would have burned myself a couple of times probably, and I’m delighted Adafruit provides the finished thing for me ready to use, no soldering required. ↩︎
I have a faint memory that this USB cable is for charging only and has no data connectors. At least that was the problem last time I tried to use it, and honestly, I would rather not be burned again. ↩︎